In today’s world, remote work is becoming increasingly popular, and the ability to securely connect to a desktop from anywhere in the world plays a key role for businesses. The 2GC service provides a convenient and secure solution for remote access, allowing you to easily manage your workspace. In this article, we will explore how to connect to a remote desktop using 2GC.
Step 1: Register in 2GC
Registration in 2GC is done through the personal account at Personal Account. First, you need to create an account by providing your details, after which you will gain access to the management system and the remote desktop setup. The registration process is simple and takes just a few minutes.
The 2GC system allows easy management of users and groups. You can add colleagues or external contractors, granting them access to the necessary resources, and control their actions through advanced monitoring features.
Step 2: Set up the Workspace
To connect to a remote desktop, follow these simple steps:
-
Download the 2GC client from Download, install it on your computer, and launch it. When the program starts, log in with your credentials. If you don’t want to enter your password each time, check the “remember password” option.
-
After a successful login, a tab with available servers will appear. Find the required server and enable it by toggling the switch. For example, select “Accounting RDP”.
-
In the new tab, enter your login credentials for the server - username, password, and domain (if applicable).
-
Click “connect”, and your remote desktop will open, ready for work.
This process allows quick and secure access to the necessary resources using the intuitive 2GC client interface.
Step 3: Using Cloudflare Argo Tunnel
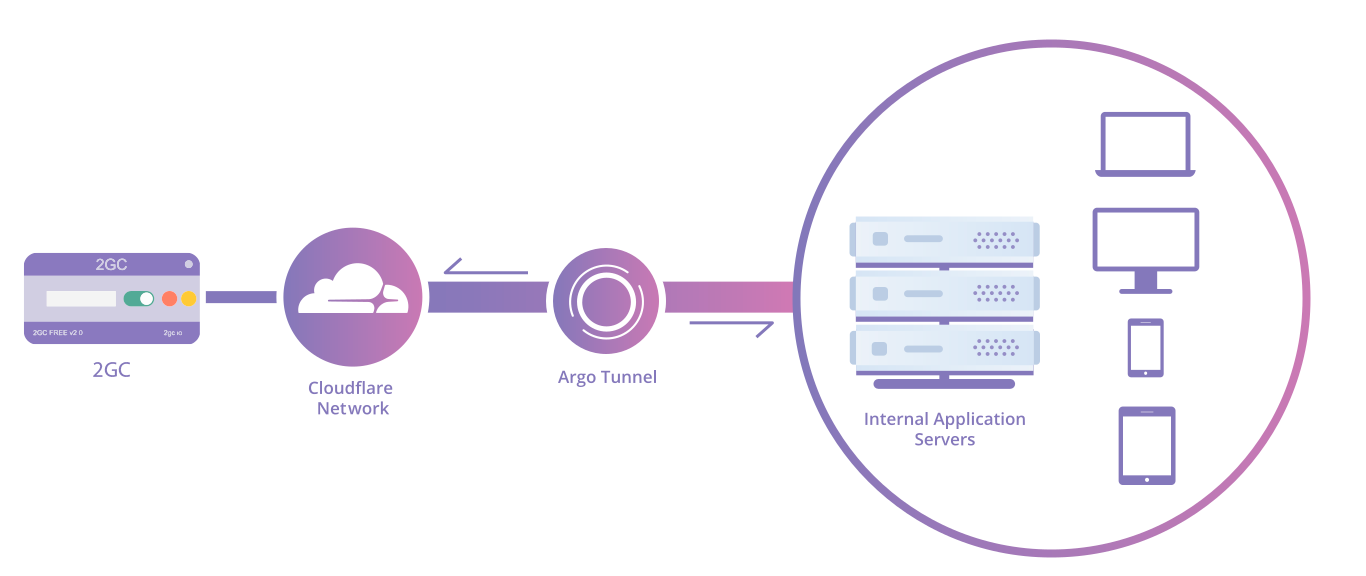
One of the key features of 2GC is the integration with Cloudflare Argo Tunnel, which provides additional protection for your remote connection. Argo Tunnel creates an encrypted channel through which all data is transmitted, eliminating the need to open ports on your device. This significantly enhances security and reduces the risk of unauthorized access.
Step 4: Managing Users and Access
With 2GC, you can easily manage access to remote servers for your team. You can add new users, such as colleagues or external contractors, granting them access to the necessary resources. You can monitor their actions and receive session information through the monitoring system. This is especially useful for companies that need to track employee activity and control access to corporate data.
Step 5: Security and Monitoring
2GC places a strong emphasis on security and ease of use. All connections through the platform are encrypted, and additional security settings allow access to be restricted, for example, by IP addresses. Furthermore, you can monitor user activity in real-time, providing control over all actions within the system.
Conclusion
Now you know how to connect to a remote desktop using 2GC. This process is simple and reliable, and data security is always a top priority. Whether you are working in the office, remotely, or on a business trip, 2GC helps you stay connected to your work resources at any time and from anywhere in the world.
